How to Customize a Return Label
There are several ways to customize a return label address using ShipHero. This article outlines the process for multiple different scenarios.
Initial Setup
The initial setup of a return label address is done using the two major steps below.
Step 1: Set up the details on your Primary Warehouse
- From app.shiphero.com, navigate to My Account > Warehouses.
- Select Settings for the Primary warehouse.
-
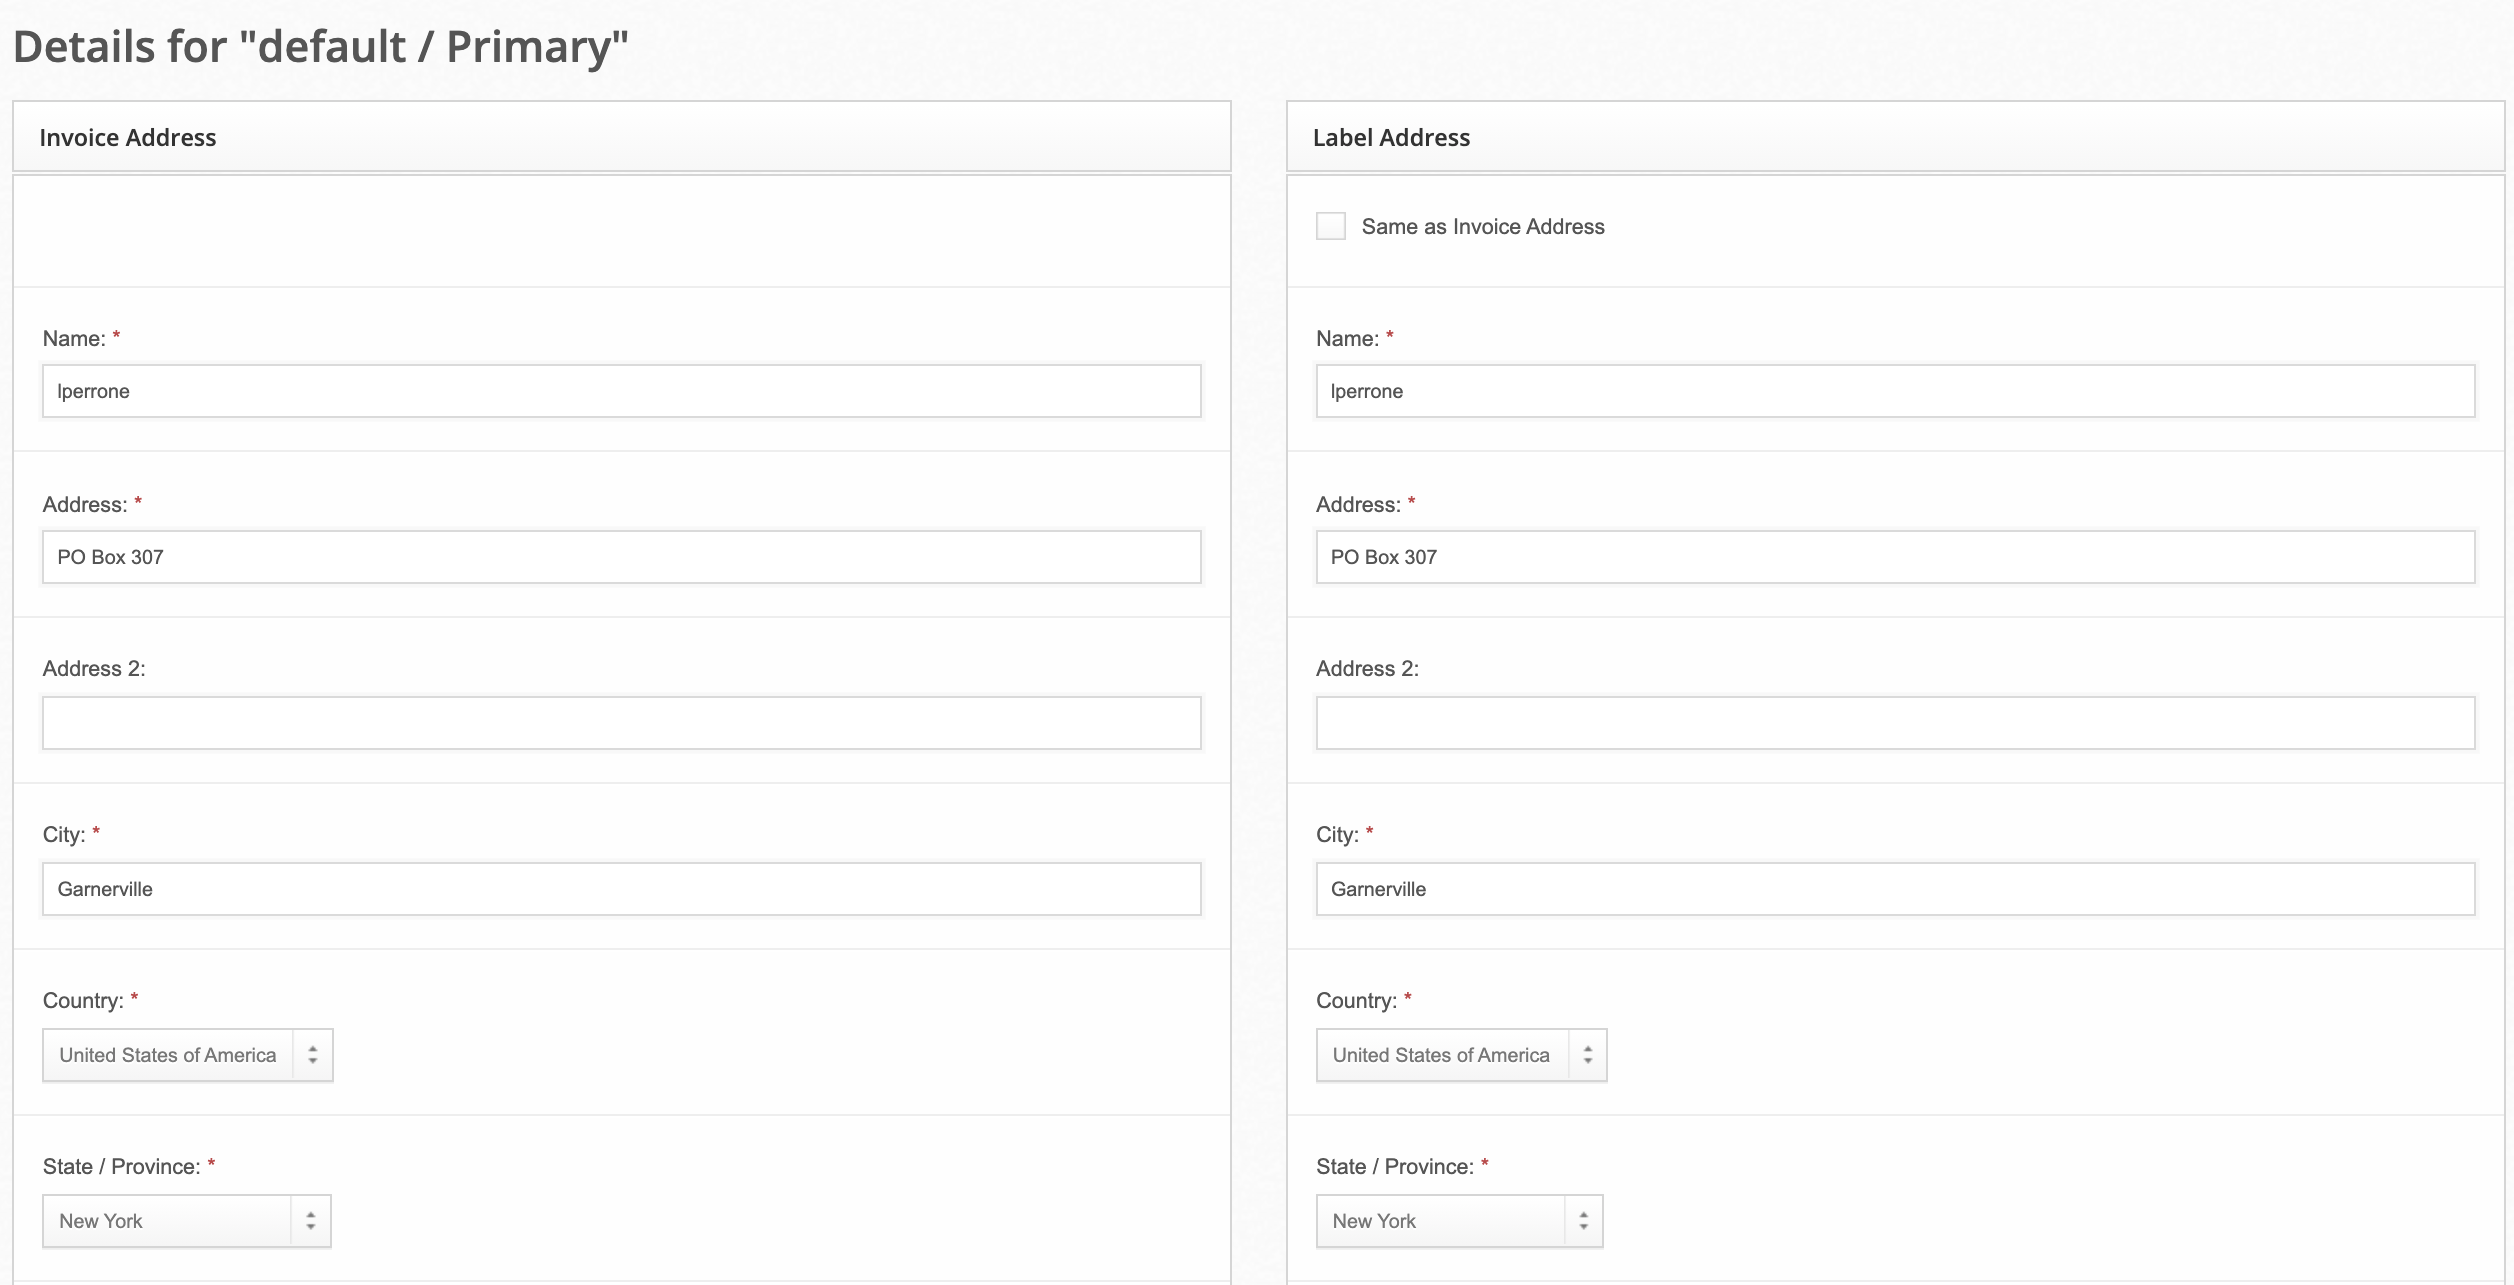
Update the information that should be shown on the invoice and the return label:

-
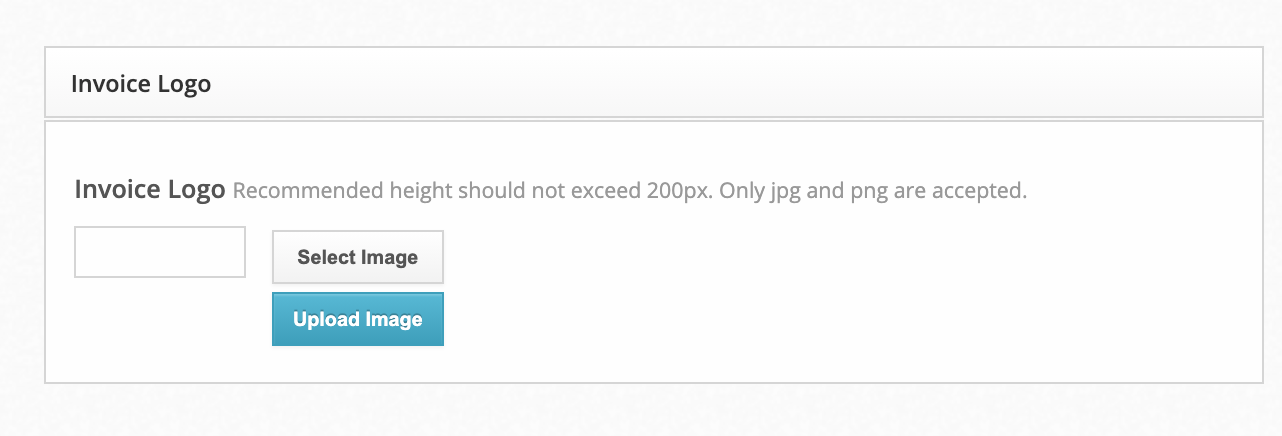
You have the option to include a logo for your invoice:

- Don't forget to select Save Warehouse once you are done personalizing the details.
Step 2: Map your customer returns to your Primary Warehouse profile
- From app.shiphero.com, navigate to My Account > Settings > Customer Returns.
-
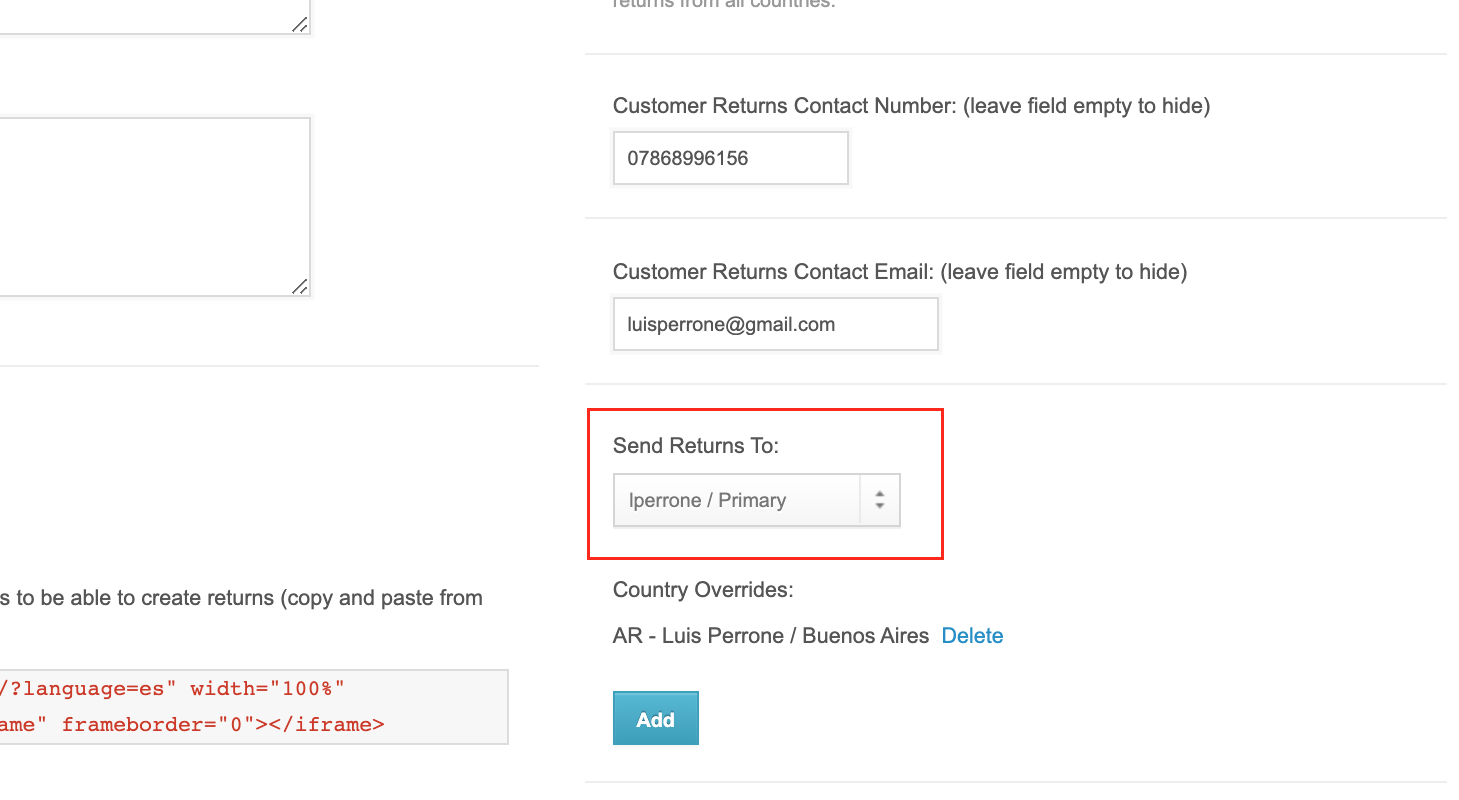
Under Send Returns To on the right side of the page, select the Warehouse Profile you want to use (the Warehouse Profile should be the same one you updated in step 1 above):

Return Labels With Multiple Stores
Follow these steps when you have multiple stores being serviced by a single warehouse, and would like to personalize your return labels so that the store name is included.
Step 1: Create a Warehouse Profile specific to each store
- From app.shiphero.com, navigate to My Account > Warehouses.
- Select Add A Warehouse on the top right of the page.
- Under Profile, select create a new profile and add the name of the profile. (For example, the store's name.)
- Under Warehouse, ensure that your Primary warehouse is selected. Do not create a new warehouse.
- Select Continue.
- Complete the details for this profile (invoice and return label information, logo, etc.) and click Save Warehouse.
Step 2: Ensure that orders are associated with the store's profile
Store profiles can be associated with orders manually, or through the use of an automation rule.
Manually associating an order with a store profile
- Open the order on app.shiphero.com.
-
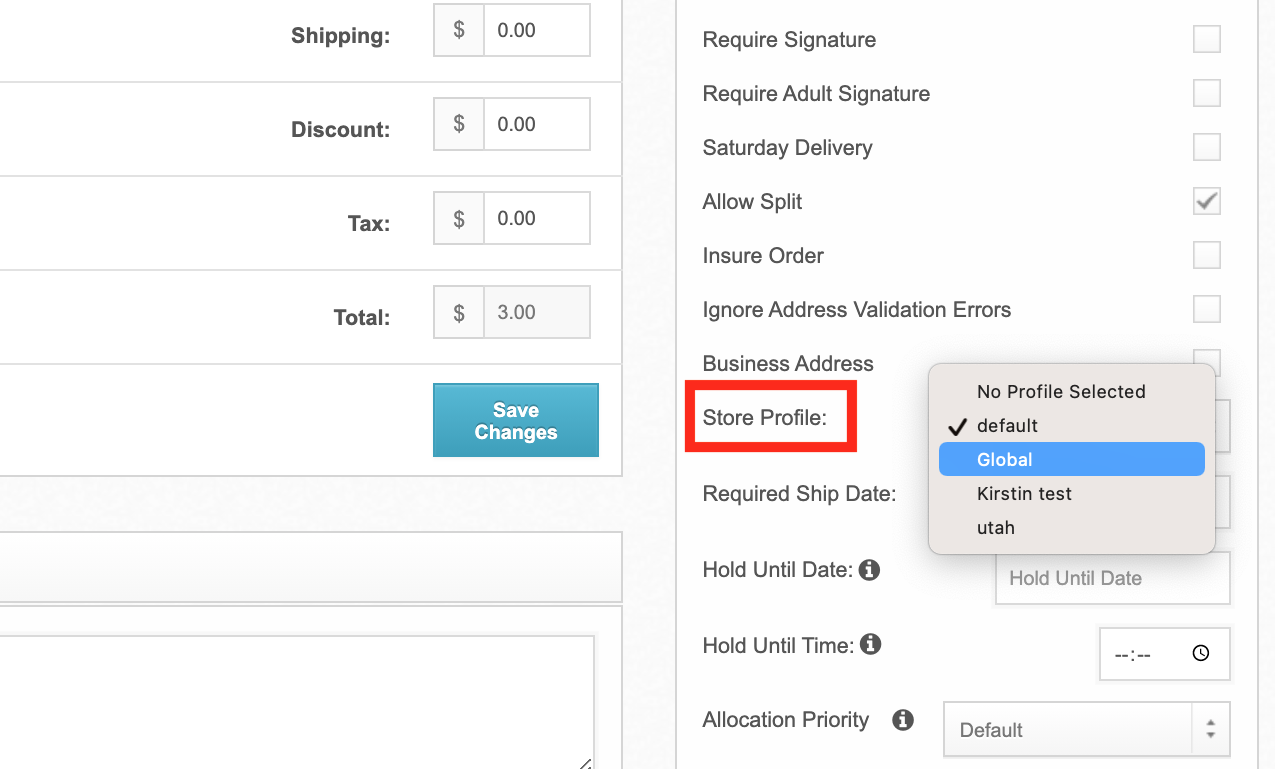
Under 'Store Profile' on the right side of the page, change from 'default' to your new profile:

